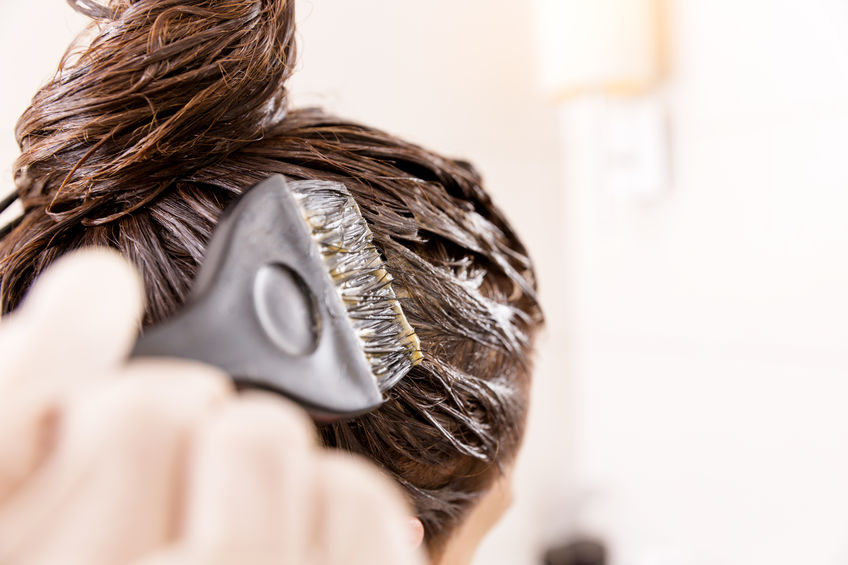
How to dye your own hair like a stylist
You can dye your own hair and live to tell the tale. Get it right and you’ll never turn back.
There are many advantages of DIY hair dye: you can do it in your own time, at a fraction of the cost and in your yoga pants. Still, the thought of dyed ears and stained bathroom tiles is off-putting. It doesn’t have to end that way though. Here’s our guide to getting it right in six easy steps.
Determine your skin tone
Set yourself up for success by complementing your complexion rather than following the latest trends. Check the inside of your wrist to see the colour of your veins and use the guideline below to determine your skin tone.
Warm: Green veins, brown, black or hazel eyes, dark hair (black, brunette, deep blonde or red).
Neutral: Blue/green veins, a mix of both cool and warm features, e.g. dark hair and blue eyes.
Cool: Blue veins, green or blue eyes, light hair (silver, white or blonde).
Select your shade
Warm skin tones suit warm hair colours, cool skin tones suit cool colours, and neutral skin tones can experiment with either. So far so good.
Do the strand test (no, but really)
For safety and cosmetic reasons, always do the strand test first. Select a small section of hair (about 1cm wide) from a not-so-visible layer of hair just above your ear so that you can easily compare it to your skin tone. Dye the section as per the product instructions and examine it in natural lighting (not in your bathroom). Like it? Go for it!
Gather your tools
Your hair dye kit may come with accessories, but these will make the process easier.
• A 4-5cm wide paintbrush – applying the dye with this will be much easier than using the bottle.
• A bowl to mix the dye.
• Hair clips to separate your hair into sections.
• A rat-tail comb – use one end to divide the sections and the other to distribute the dye.
• A pair of dark towels to protect your clothes and clean up any spills.
• Vaseline – apply this on the skin below your hairline to prevent stains.
• An alcohol-based facial toner to remove stains on skin and surfaces.
• A timer.
And now for the fun part
Apply the Vaseline to the skin around your hairline. Next, mix the dye as per the instructions. Use the comb to divide your hair into four main sections, clipping each in place. If you’re going darker, start with the top front section (where your hair is usually the lightest). If you’re lightening up, start at the back. Take a smaller subsection from the relevant main section and work in the dye. Repeat throughout.
Make it last
Use a colour-protecting shampoo to prevent fading. Depending on the shade and product you use, colouring your hair might dry it – a weekly conditioning treatment or hair mask will counteract dryness and increase the longevity of the colour. Avoid heat styling as much as possible and use a heat protector when you do.
Tip: Don’t wash your hair immediately before dyeing. Most experts suggest waiting 24 to 48 hours after washing as squeaky-clean hair lacks the oils needed to absorb the colour.
IMAGE CREDIT: shutterstock.com
Products featured in this article
-
Inecto
Hair Colour Natural Rich Black
R 27.99 -
Schwarzkopf
Palette Deluxe Silver Blonde 10-1
R 140.00 -
Revlon
ColorStay Hair Colour Medium Cool Brown
R 123.00 -
Shrine
Drop It Hair Toner Champagne Blonde 10ml
R 329.00 -
Vaseline
Blue Seal Fragrance Free Petroleum Jelly Baby 250ml
R 48.99 -
Clicks
Essentials Clamp Octopus Medium 2 Pack
R 19.00 -
Roots
Double Effect Colour Protect Shampoo 250ml
R 200.00 -
Sorbet Drybar
Lock Up And Glow Colour Protect Shampoo 350ml
R 145.00 -
Clicks
Tail Comb Metal
R 35.99 -
Cetaphil
Bright Healthy Radiance Brightness Refresh Toner 150ml
R214.71 -
Cotton Bath Towel Navy
R 189.00


